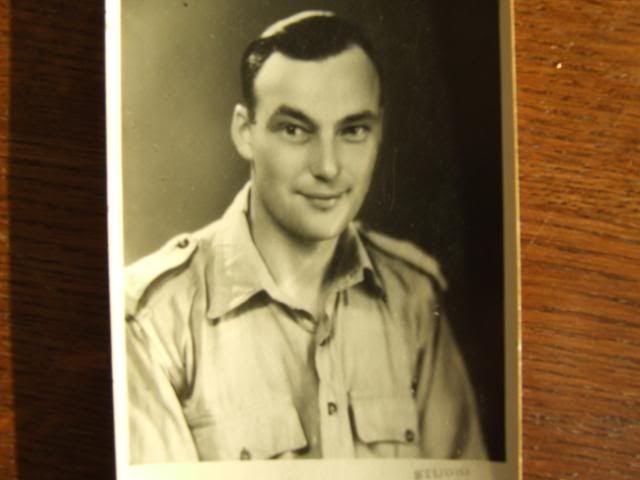
Richie's Little Tank
Posted: Sat Dec 07, 2013 9:52 pm
Thought I would post up some of my efforts on the carrier from last week... Being around BBHQ has done some irreparable damage to my brain... And restoration ethos !
Long story short, my carrier was purchased with its entire top half cut off, in essence what arrived as my project was a tub with a pair of tracks. Behind the driver is a bulkhead and behind that are some armoured air intake ducts which in a crude way are designed to push air towards the fan and radiator core. My air ducts were cut to bits with a gas axe !
I did some research and a pal in Suffolk informed me of a field which was known for cutting up carriers at the end of the war (and turning them back into pots and pans no doubt) so a few years back, armed with a metal detector and a shovel we went and did some digging... And I located of all things a pair of ducts !!!!!!!!!!
They have been sat under my carrier awaiting attention since then.
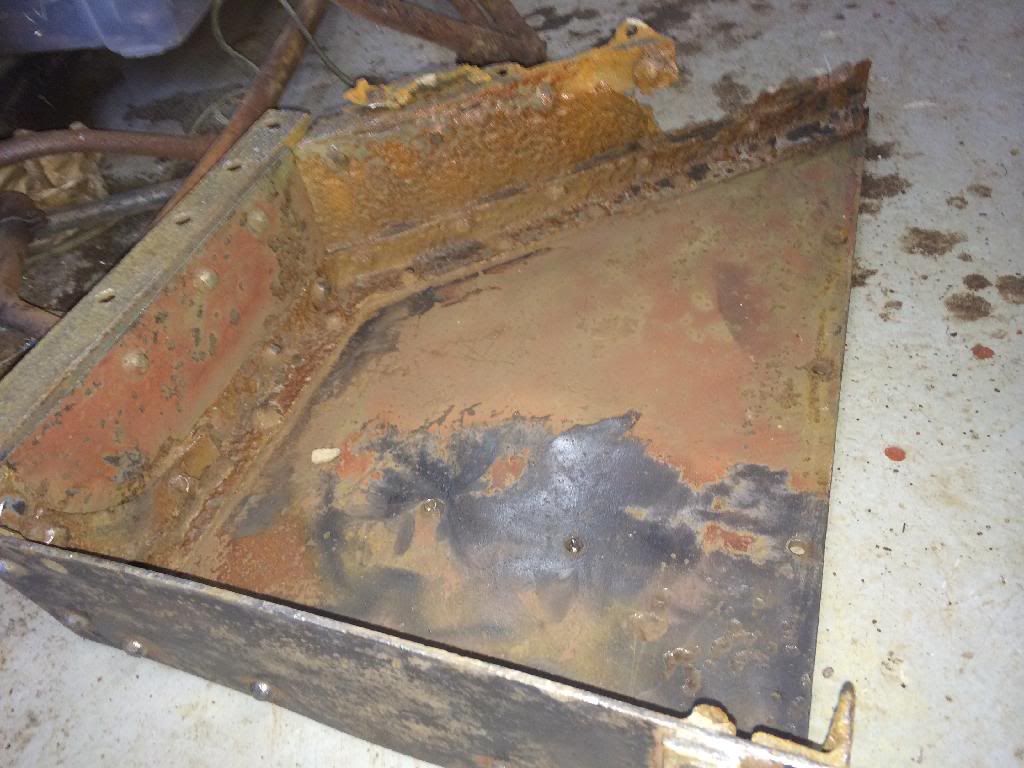
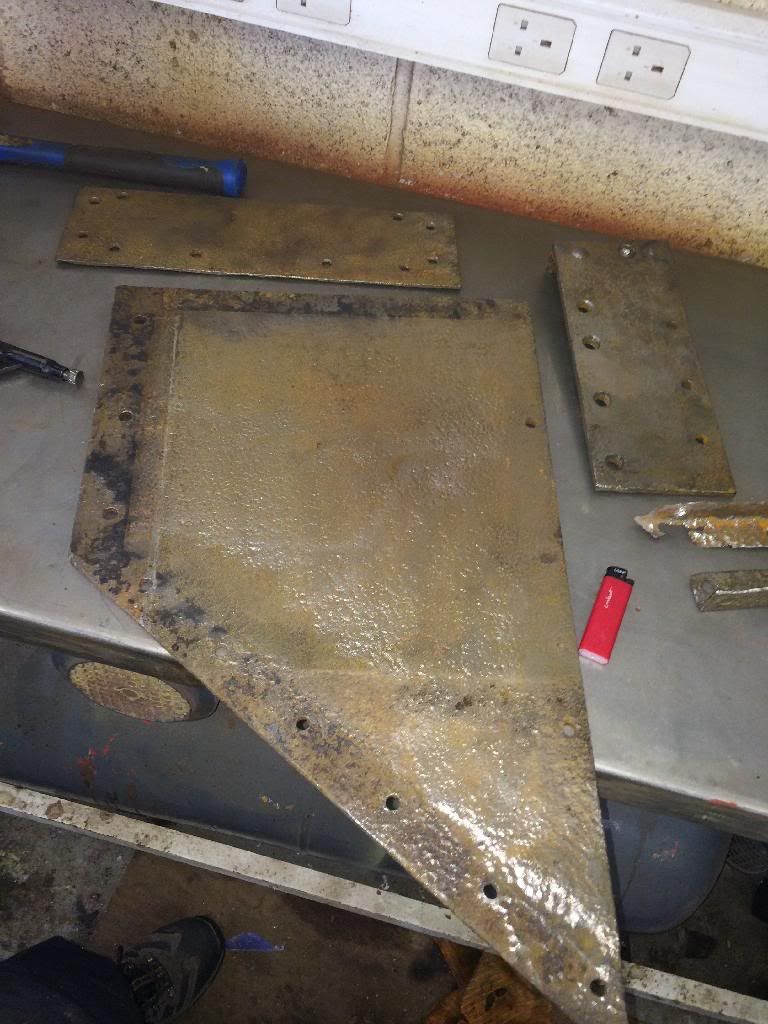
Here is the gunners side duct as removed from the ground... It has been given some light cleaning and nothing more. Note the rotted section of steel, this is 5mm mild stuff where as the other sides are a high carbon ballistic grade steel, perhaps why the other stuff has survived and this hasn't Bill will no doubt know.
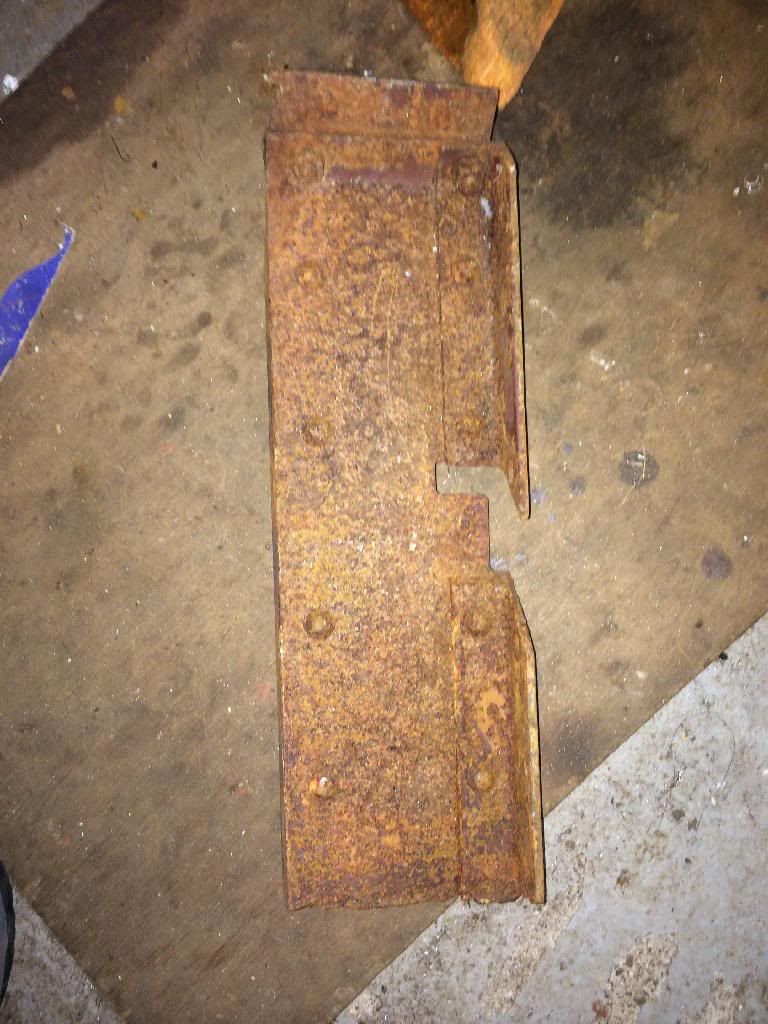
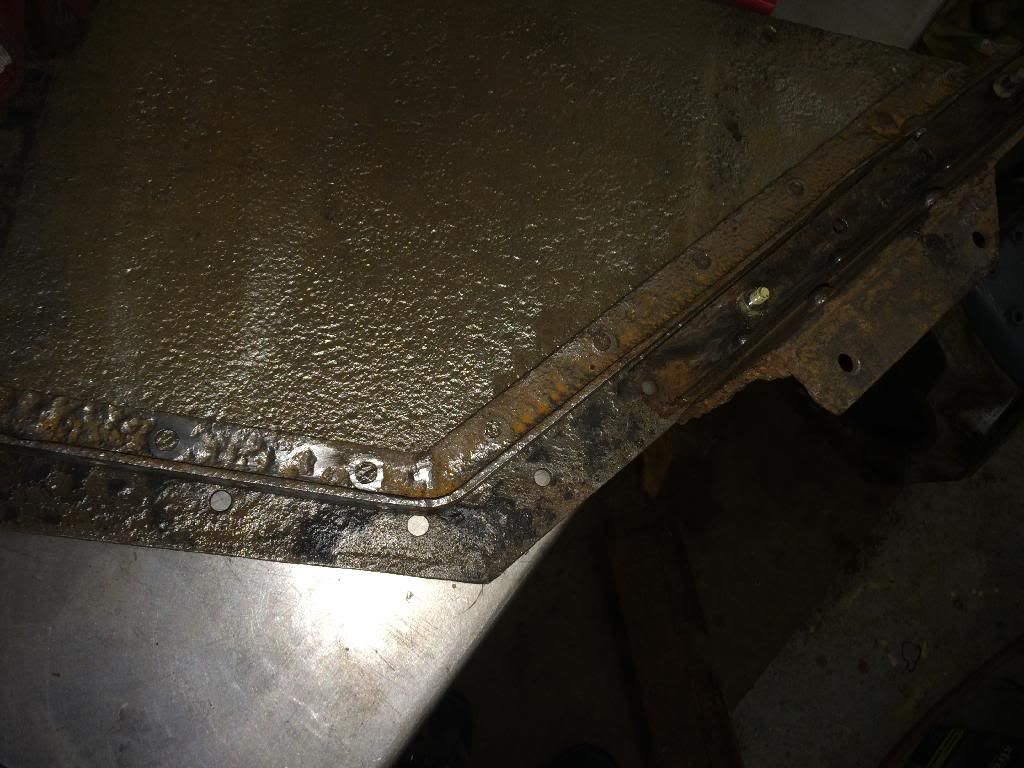
Here is the remains of the same side duct that came from my carrier.
So I went to work with a wire wheel on the grinder, and after a soak in molasses and brushed, the bits were ready to be mok'd up.
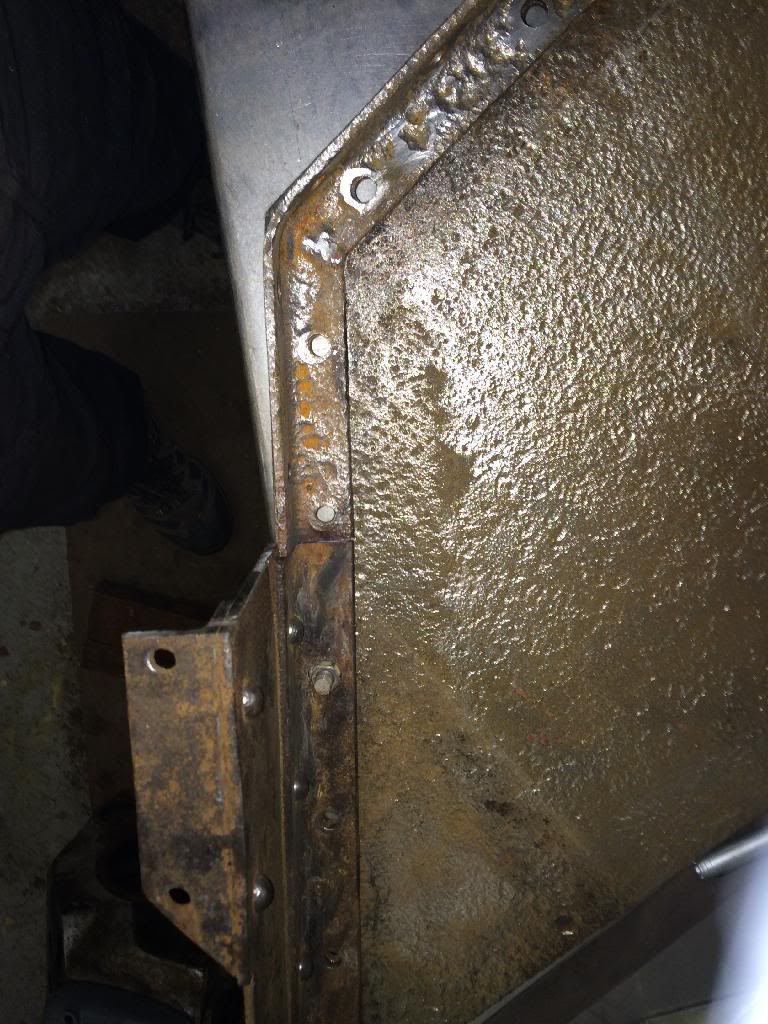
Here is the drivers side duct which I had stripped down to make patterns for other people.
Now here is the conundrum.... Do I replace the rotted section with a total new piece of steel along with new frame rails ? Or go the difficult route and graft in a patch ? Thanks to BBP I took the latter choice
I bolted my original duct remains, to the remains of the dug up duct to see what I had to play with, I then offered up the frame rail from the dug up duct to see where I need to make the cut.
Once I was happy where I needed to make the graft fit, I set about tidying the melted edges of the lower pannel of my original remains (that came with my carrier)

Once that was done, it was bolted back to the armour plate and the frame rail was cut to match
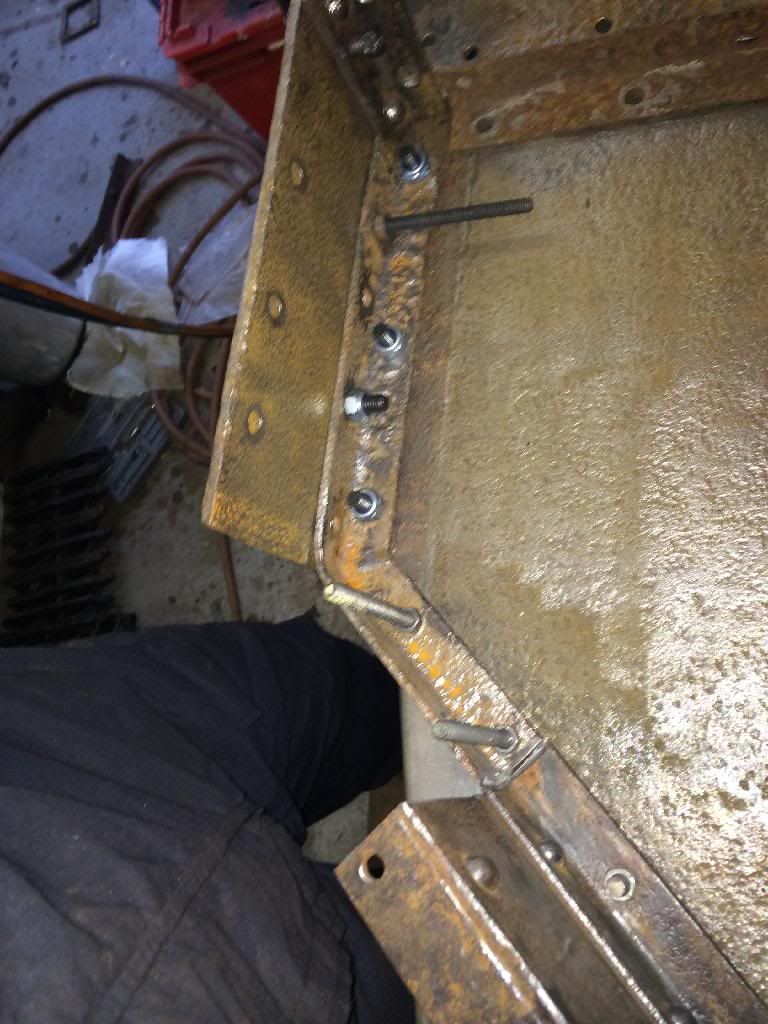
After that I added in the other plates to check my clearances and see how much new material I need to graft in
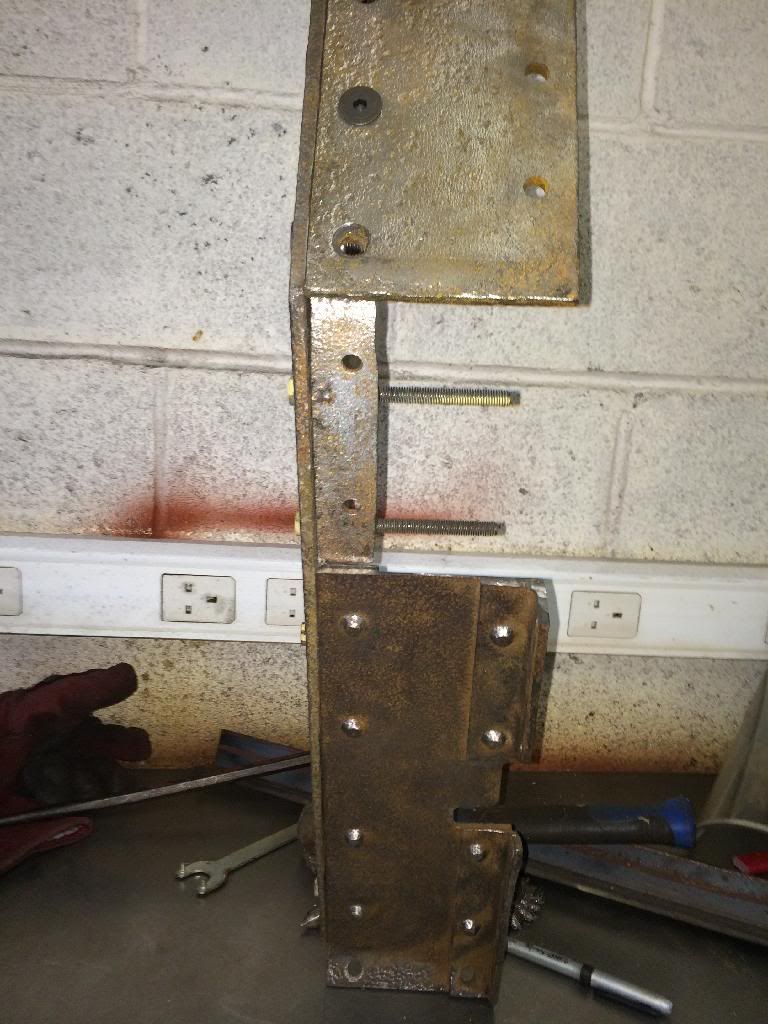
Which amounts to a small rectangle ! The rest other than the rivets will be original 1942 !!!
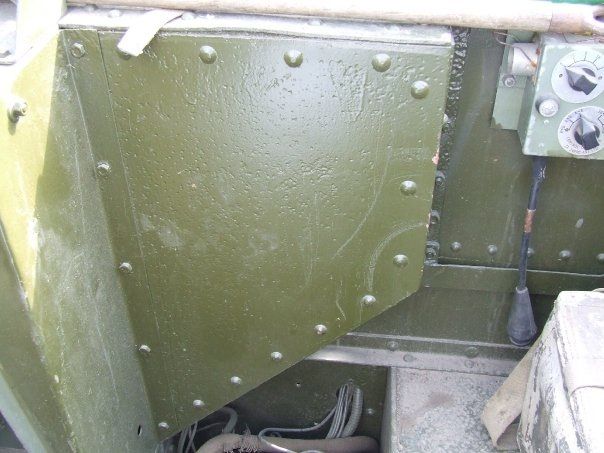
Here is what it should look like (drivers side)
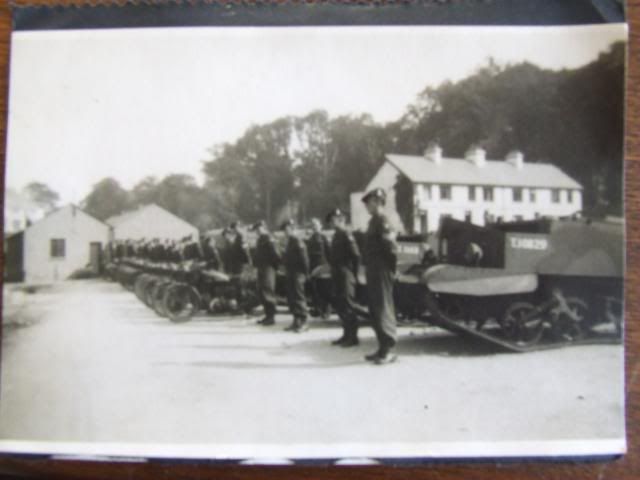
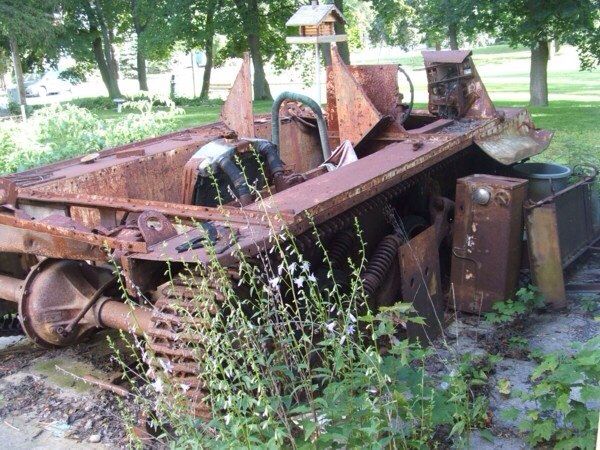
And my carrier when I bought it
Happy days. Just need to weld in the bit and rivet it up........... Just thought I would share (it's all on facepants but some of you folk aren't on there)
Long story short, my carrier was purchased with its entire top half cut off, in essence what arrived as my project was a tub with a pair of tracks. Behind the driver is a bulkhead and behind that are some armoured air intake ducts which in a crude way are designed to push air towards the fan and radiator core. My air ducts were cut to bits with a gas axe !
I did some research and a pal in Suffolk informed me of a field which was known for cutting up carriers at the end of the war (and turning them back into pots and pans no doubt) so a few years back, armed with a metal detector and a shovel we went and did some digging... And I located of all things a pair of ducts !!!!!!!!!!
They have been sat under my carrier awaiting attention since then.
Here is the gunners side duct as removed from the ground... It has been given some light cleaning and nothing more. Note the rotted section of steel, this is 5mm mild stuff where as the other sides are a high carbon ballistic grade steel, perhaps why the other stuff has survived and this hasn't Bill will no doubt know.
Here is the remains of the same side duct that came from my carrier.
So I went to work with a wire wheel on the grinder, and after a soak in molasses and brushed, the bits were ready to be mok'd up.
Here is the drivers side duct which I had stripped down to make patterns for other people.
Now here is the conundrum.... Do I replace the rotted section with a total new piece of steel along with new frame rails ? Or go the difficult route and graft in a patch ? Thanks to BBP I took the latter choice
I bolted my original duct remains, to the remains of the dug up duct to see what I had to play with, I then offered up the frame rail from the dug up duct to see where I need to make the cut.
Once I was happy where I needed to make the graft fit, I set about tidying the melted edges of the lower pannel of my original remains (that came with my carrier)
Once that was done, it was bolted back to the armour plate and the frame rail was cut to match
After that I added in the other plates to check my clearances and see how much new material I need to graft in
Which amounts to a small rectangle ! The rest other than the rivets will be original 1942 !!!
Here is what it should look like (drivers side)
And my carrier when I bought it
Happy days. Just need to weld in the bit and rivet it up........... Just thought I would share (it's all on facepants but some of you folk aren't on there)